
The weather is getting so much warmer in the Bay Area that I thought we all could use a cool treat. Of course, I pulled out the ice cream machine, but since we’ve been exercising lately, I decided a healthy alternative was in order. So that’s why I pulled out my yogurt jars and made our family’s favorite: Vietnamese yogurt. In Vietnamese, it’s called sữa chua, which literally translates to ”sour milk”. It’s also often referred to as da ua, which is the pidgin French term for ”yaourt” (Vietnamese language swallows the consonant sounds from the French term).
Making Vietnamese yogurt is very easy and doesn’t even require a yogurt maker. The main ingredient is of course milk (sữa bò); to this are added condensed milk (hộp sữa đặc), warm water (nước sôi) and a ready-made-made yogurt (starter) to start the fermentation. You can find this starter, called hủ da ua cái, in Asian stores for $1.50 to $2.00 a jar.
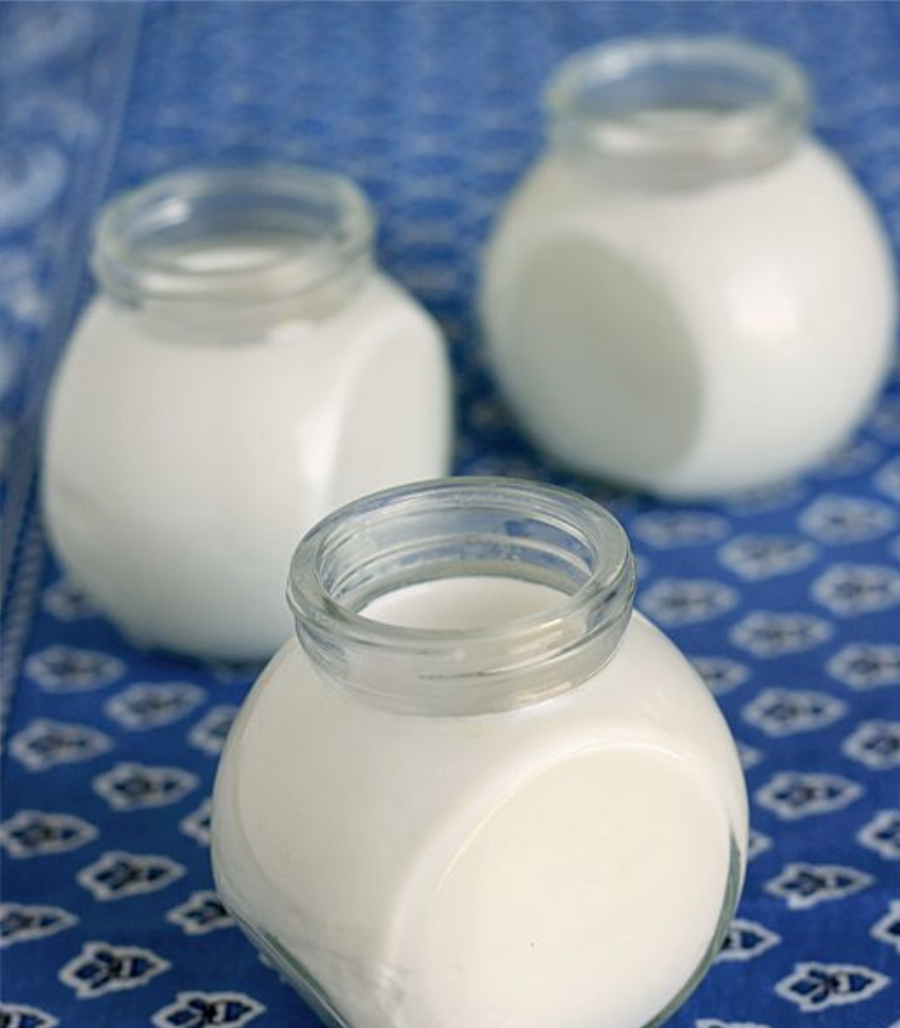
Vietnamese yogurt is soft and tastes sour, sweet and a little tart. Once you try it, you’ll be just as addicted as my family is!
1. Info for How To Make Vietnamese Yogurt (Homemade Yogurt Recipe)
- Cook Time: 10 mins
- Total Time: 4 hrs 10 mins
- Servings: 15
- Calories: unavailable
2. Ingredients for How To Make Vietnamese Yogurt (Homemade Yogurt Recipe)
- 2 (14-ounce) cans sweetened condensed milk
- 7-3/4 cups water
- 2 (8-ounce) jars yogurt (starter)
- 3-½ cups whole milk (unpasteurized)
3. Directions:
- Place all the yogurt jars in the cooler. Measure the amount of water you would need to fill up the cooler up to 1-½” below the top of the yogurt jars. Write down or remember the exact amount of liquid needed. You’ll need to use 1 part warm tap water and 2 parts boiling water later in the recipe.
- Line the bottom of the pot with a piece of cloth so the jars do not move or break. Fill a large pot of water and bring to just under a boil. Place the yogurt jars, lids heat-proof funnel and tongs in the pot and let them boil for 10-15 minutes.
- Remove the jars from the water. Transfer all the items using tongs (jars face down to drain the water) onto a clean kitchen towel. Dry everything with a clean towel.
- In a deep saucepan, bring 3-½ cups of water to a near boil. Dissolve the condensed milk in the hot water. Stir with a wooden spoon.
- Let the milk cool down to about 122°F, then add the yogurt starter, 4-¼ cups of cold water and fresh milk. Allow the yogurt bacteria to incubate for about 5-10 minutes. The temperature should not exceed 130°F or the lactobacilli bacteria that curdles the milk will die.
- Fill yogurt jars with the dairy mixture, leaving about ½-inch of head space. Carefully place the lids on the jars. Tighten the collar around each jar.
- Place them in the cooler that can hold all the jars. Mix one part warm tap water and two parts boiling water in a pitcher and pour into the cooler. The amount of water needed is what you measured previously. The temperature of the water bath should be approximately 98°F.
- Close the cooler and let it rest next to a warm area (like near the stove).
- Let the jars rest in the bath for at least 8 hours. The longer you wait, the more tart and sour the flavor will be.
- During the winter time: wait for more than 12 hours. I usually start at 7 p.m. and remove at about 9 a.m. the next day.
- During the summer time: wait for about 9 hours. I start at 10 a.m. and it’s done by 7 p.m. on the same day.
- Check the consistency of the yogurt by tipping one of the jars and seeing whether the yogurt moves or not.
- You could extend the fermentation time up to 15 hours if you like the yogurt more acidic. The less you wait, the sweeter it’s going to be.
- A yellowish liquid (whey) will form on top of the yogurt. Remove the whey, cover the jar with its lid again and store the jars in the refrigerator for at least 4 hours. The temperature of your refrigerator should be about 40°F. The cold will slow the growth of the yogurt bacteria but will not kill them.
- Note: If you’re planning on making more yogurts, don’t forget to reserve one jar for your next weekly yogurt batch.
- You could eat the lightly sweetened yogurt plain, as is. If you want to fancy it up a bit, after processing and refrigerating the yogurt, cover with fresh fruits such as berries and eat immediately.
)