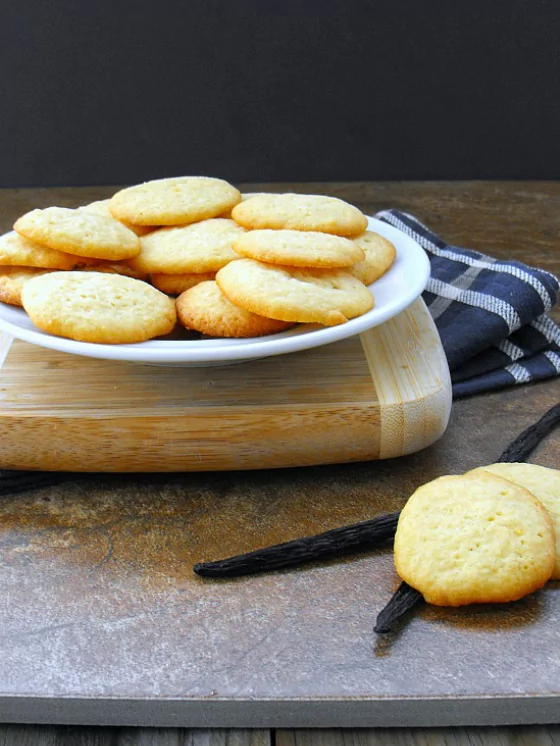
There are two main recipes floating around the internet for homemade vanilla wafers. One is more of a shortbread, made with egg yolks and the other is really light, made with egg white. One is sliced after chilling and the other is piped with a pastry bag onto cookie sheets. Neither worked for me. 1. I wasn’t just about to end up with half an egg or two. 2. I wanted something I could just scoop with a tiny ice cream scoop right onto the pan and 3. I wanted the recipe to be frugal.So. I printed out both recipes and went to work. In the end, I changed just about everything, but the results were perfect: a frugal, easy, non hydrogenated, no corn syrup added, homemade version of ‘Nilla wafers.
I just happened to have a box of no-name vanilla wafers in the back of a cupboard. I got them out to do a taste and look comparison. My version were exactly the same size and shape of “theirs.” Mine were a whole lot more buttery (owing, I am sure to the fact that I used butter and not a processed fat). The store bought cookies were more uniformly brown. Both were crunchy. My taste testers thought the homemade were exponentially better tasting. I will see how they work in a recipe when I attempt a variation on that old favorite “banana pudding without bananas.”
1. Info for Homemade ‘Nilla Wafers
- Cook Time: unavailable
- Total Time: unavailable
- Servings: unavailable
- Calories: unavailable
2. Ingredients for Homemade ‘Nilla Wafers
- 1 stick butter
- 1 egg, large
- 1 Tbsp vanilla
- 1¼ cup AP flour
- 1 tsp baking powder
3. Directions:
- Cream the butter and sugar in a mixing bowl.
- Add the egg and vanilla and mix well.
- Combine the flour and powder and mix in.
- Using the tiniest ice cream scoop known to man (or a ½ tsp measuring spoon), scoop the dough onto a cookie sheet. (I used a silpat. If you have one, I recommend using it)
- You should get about 20-24 cookies on a pan.
- Bake 350 degrees for 10+ minutes.
- Let their color be your guide to their doneness.
- You want brown edges and tan, crispy cookies.

