
Last season, my husband Lulu harvested so many peppers from the garden that I had to make a lot of preserves to use them up. If you’ve been following me on Facebook, I didn’t get a lot of sleep over the weekend because of an over-dose of caffeine. I went on a cleaning spree to pass the time, and while I was tidying up, I found our last jar of chile jam. We used a combination of red Habanero (which is probably the spiciest chile you’ll ever taste), red Thai chiles and a small red bell pepper to temper the heat. Still, this recipe will knock your socks off!
When Lulu and I first got married, I remember him calling me a wimp when it came to spicy food. I used to find black pepper spicy! But over the last 6 years, I’ve learned to enjoy it. I guess marrying into an Indian family helped numb my taste buds. For Father’s Day, we held a contest on who would be able to stand eating intensely spicy cuisine. Daddy, my father-in-law, is an expert and of course, he won, but I was able to do better than the girls.
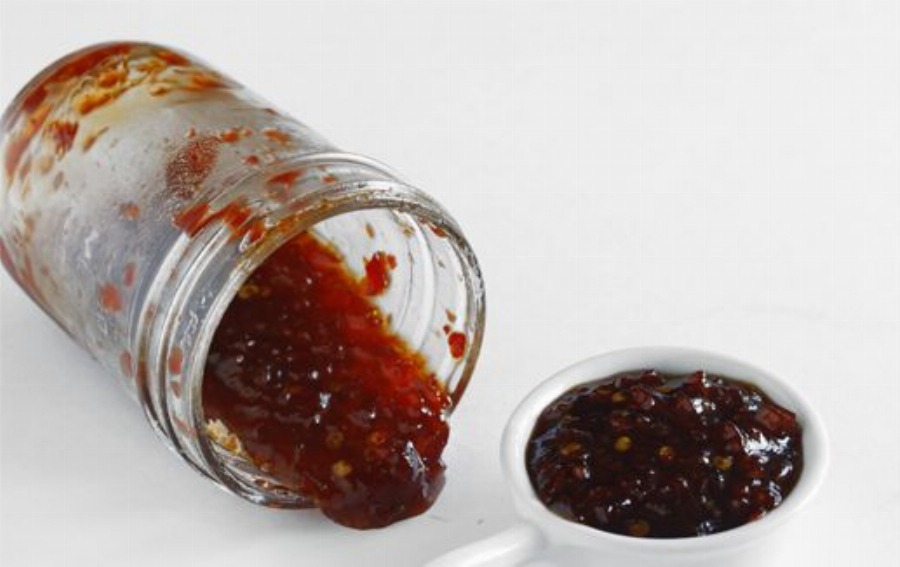
Daddy said the chile jam wasn’t as spicy as he had expected but if you’re not as tolerant of the heat, prepare a tall glass of milk on the side and enjoy with some toast.
1. Info for Chile Jam Recipe (Homemade Habanero Sauce)
- Cook Time: unavailable
- Total Time: unavailable
- Servings: 5
- Calories: unavailable
2. Ingredients for Chile Jam Recipe (Homemade Habanero Sauce)
- 1 small red bell pepper, roasted, skinned, seeded and very finely chopped
- ½ pound fresh red chiles (see tips)
- ¼ teaspoon salt
- 1 pint apple cider vinegar
- 6 cups granulated sugar
- 6 ounces liquid pectin
3. Directions:
- Pick fully ripened, extremely red chiles. Wash them. Pat them dry using paper towels. Wearing disposable gloves, trim the stems. You can remove the seeds if you like it less hot. Note: remember not to rub your eyes after touching the chile pepper seeds. Then roughly chop all the chiles.
- Blend the chili peppers with 1 cup of vinegar and the salt in a food processor or a blender with about 10 pulses.
- Transfer the chile mixture into a saucepan. Add sugar and the remaining vinegar and bring to a boil. Cook for about 10 minutes while stirring constantly using a wooden spoon to make sure the ingredients don’t stick to the bottom. Add the pectin. Bring to a boil again, then lower the heat to medium-low and cook for an additional 2 minutes. The content should be syrupy.
- While the chile jam is cooking, fill a large pot of water and bring to just under a boil. Place 5 ½-pint Mason jars, lids, heat-proof funnel and tongs in the pot and boil for 10 minutes. Be sure to read the instructions that come with your Mason jars. They’ll give you exact time and techniques.
- Remove the jars from the water and fill with the hot jam, leaving about ¼-inch of head space or whatever your canning directions say. Carefully place the lids on the jars (see tips). Tighten the collar around each jar. Bring your large pot of water to a boil and place all the sealed jars in it for 10 minutes.
- Remove the jars from the water. If the top of the lid still pops, the vacuum didn’t form and you’ll need to consume the jam in the next couple of weeks, storing it in the refrigerator. Otherwise you can safely store it in your pantry for up to a year.
- You can use the chile jam as a glaze over chicken breasts or simply spread on a piece of toast. Stay tuned for a recipe using the spicy jam soon!
)