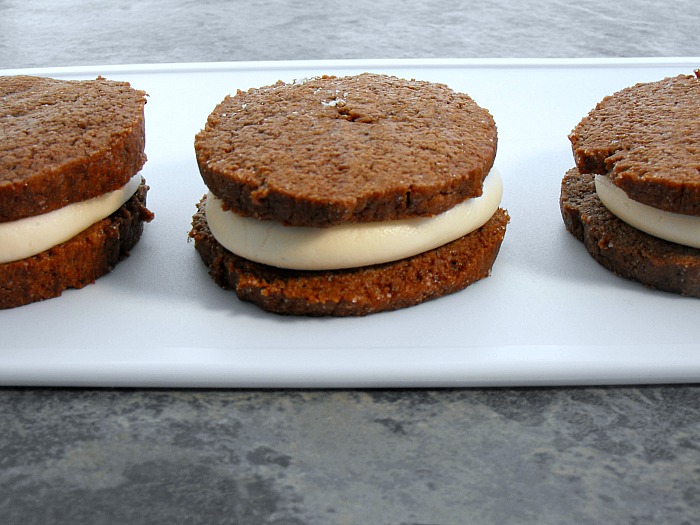
I have had so called “homemade Oreo” cookies before. Usually they resemble a Whoopie Pie more than an actual Oreo. The cookies are soft, the middle is marshmallow-like. So, when I decided to recreate an Oreo at home, I went after a crunchy cookie first and a sadly Crisco like filling next, because that’s what the quintessential Oreo is. My first batch didn’t bake long enough and was too soft. The reviews from my family ranged from, “Tastes like a brownie,” “It’s good, but it’s definitely not an Oreo,” and my personal favorite, “Are you sure this isn’t gingerbread?” Yeah, that taster’s credibility went in the toilet with that remark.
With the second and third batches, however, all of my kids finally got on board and declared these cookies as good or better than the store variety. My husband, the die-hard Oreo eater, was never convinced. Having given you the honest opinions of my family, I give you my version of Oreo cookies:
1. Info for Homemade Oreos
- Cook Time: unavailable
- Total Time: unavailable
- Servings: unavailable
- Calories: unavailable
2. Ingredients for Homemade Oreos
- 2¼ cups flour, all-purpose
- 6 tablespoons cocoa powder, unsweetened
- 1 cup sugar, white
- 1 tsp vanilla extract
- For the Filling:
- 2 cups confectioners’ sugar, sifted
- 3 teaspoon vanilla extract
3. Directions:
- Mix the dry ingredients in a small bowl.
- In a large mixing bowl, cream the butter and sugar.
- Combine the milk and vanilla and add alternately with the dry ingredients.
- Mix until well blended.
- On plastic wrap (you may want to divide the dough into parts) roll the dough into a 1½ inch diameter log.
- Wrap with plastic and freeze an hour or until really firm.
- Cut ¼ inch thick circles and place on cookie sheet.
- Return unused dough to the freezer until the next batch.
- Bake at a preheated 375 for 13-15 minutes or until crispy.
- Cool on a wire rack until completely cooled.
- To make the filling: Beat butter and shortening with powdered sugar.
- Add the vanilla a teaspoon at a time until desired consistency is reached.
- Place in a small Ziploc bag and cut off the corner.
- Piping the filling onto the cookies made it really easy!

