
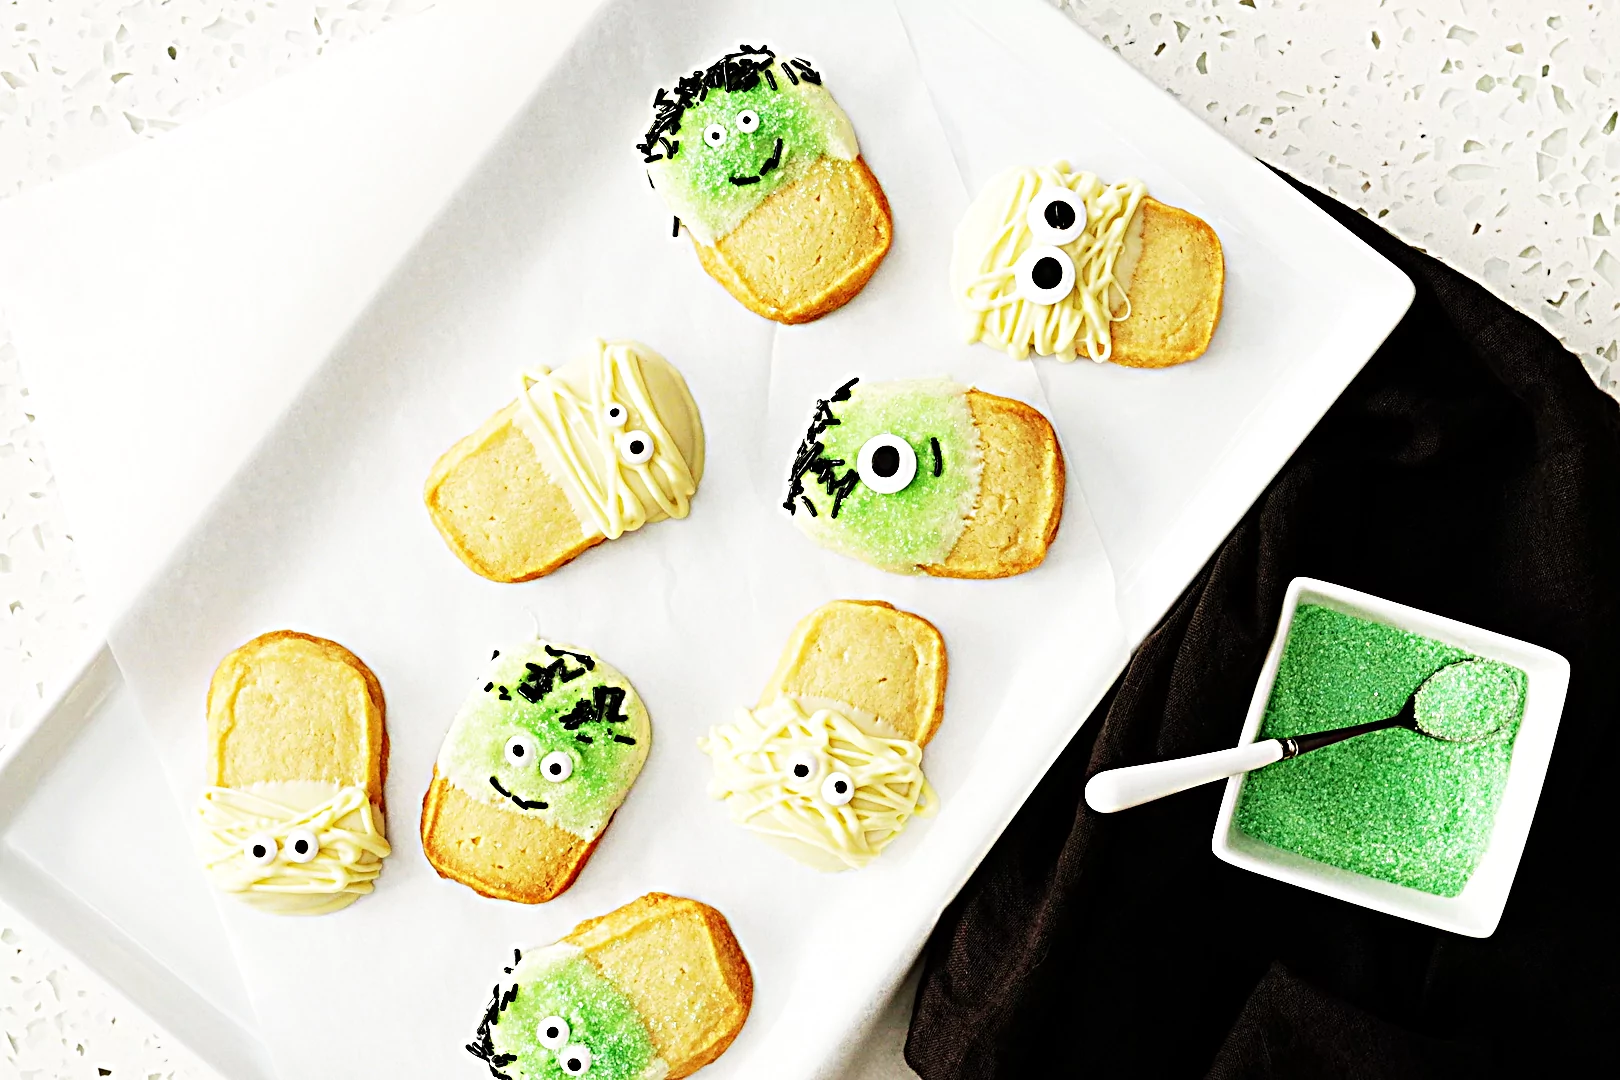
Monsters and mummies, oh my! These adorable Halloween sugar cookies are made from a simple, buttery slice n’ bake dough, and are easy enough to decorate that older goblins in the house can help.
Satisfy your sweet tooth with this easy-to-make recipe for Easy Slice and Bake Halloween Creature Cookies.
1. Info for Easy Slice and Bake Halloween Creature Cookies
- Cook Time: 1 hr 5 min
- Total Time: 1 hr 5 min
- Servings: 20
- Calories: 263.81 kcal
2. Ingredients for Easy Slice and Bake Halloween Creature Cookies
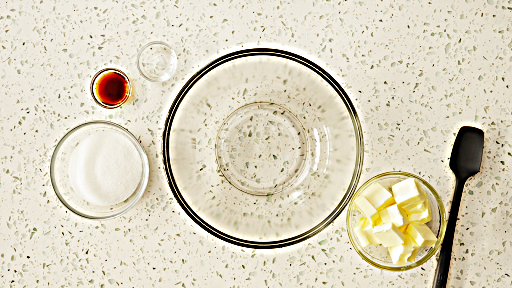
- 1 cup unsalted butter (softened)
- 2/3 cup granulated sugar
- 1 tsp. vanilla extract
- 1/8 tsp. almond extract (optional)
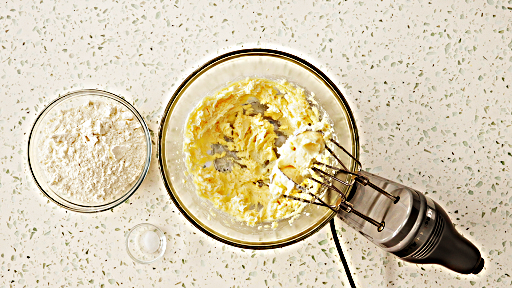
- 2 cup all-purpose flour (plus 2 Tbsp.)
- 1/2 tsp. salt (scant)
- 12 oz. white chocolate (bars or chips)
- Green decorating sugar
- Black candy jimmies (or sprinkles)
- Candy eyeballs
3. Directions:
3.1 Prep
)
Place the butter, sugar, vanilla extract, and almond extract in a large mixing bowl or stand mixer bowl. Beat with a mixer on low speed to blend, then increase speed to medium and beat until smooth and creamy.
)
Add the flour and salt to the bowl and beat on low speed until a smooth dough forms, scraping down sides of the bowl as needed.
)
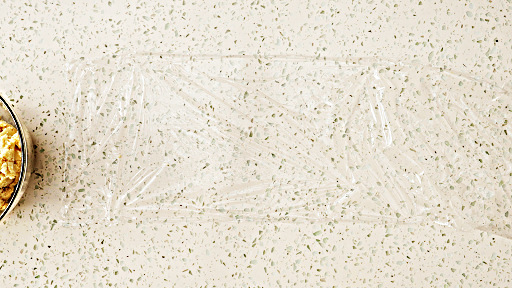
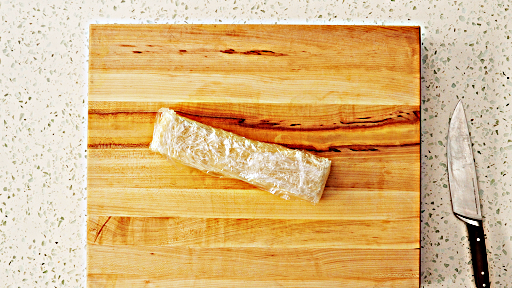
On a clean work surface, transfer the dough to a large sheet of plastic wrap. With clean hands (slightly dampened if needed to prevent sticking), shape dough into a smooth rectangular log roughly 2 inches wide, 1 1/2 inches tall, and 10 inches long. Wrap tightly with plastic wrap and refrigerate until firm enough to slice neatly, about 2 hours.
3.2 Preheat
)
Preheat the oven to 350°F.
3.3 Prep
)
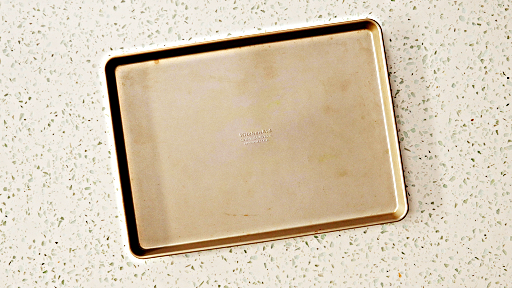
Line two baking sheets with parchment paper.
)
Place the chilled dough on a cutting board and discard plastic wrap. Slice the log into 1/2-inch-thick cookies (you should have 20). Arrange them 1 inch apart on the prepared baking sheets.
3.4 Oven
)
Bake the cookies on upper third and lower third racks of oven, switching pan positions halfway through cook time, until cookies are just starting to turn golden at edges, 18-20 minutes.
3.5 Check
)
Check to see that cookies are done. Remove from oven or add time as needed.
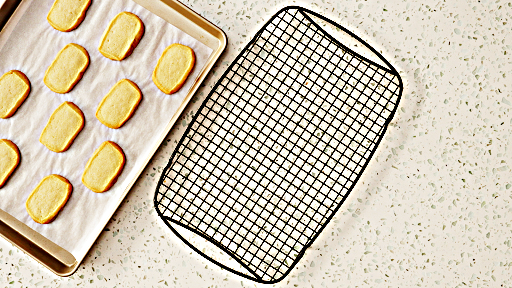
3.6 Prep
)
Transfer baking sheets to a cooling rack (cookies are fragile while hot) and let cool completely before decorating, 30-60 minutes.
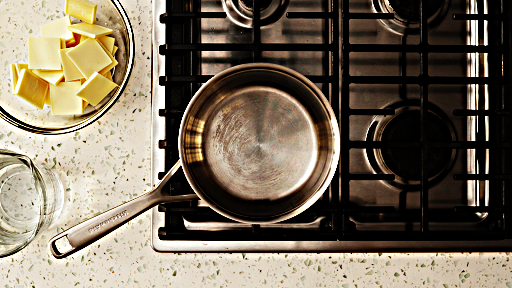
3.7 Stove
)
Finely chop the chocolate bars, if using (no need to chop chips). Fill a medium saucepan with about 1 inch of water and bring to a simmer. Transfer the white chocolate to a small heatproof bowl that is big enough to sit on the saucepan well above the water. Reduce heat to low and warm, stirring constantly, until chocolate is melted and completely smooth, about 2 minutes. Remove bowl from saucepan.
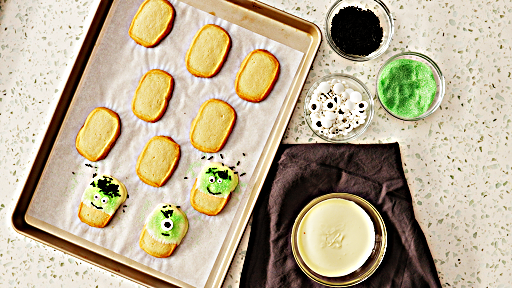
3.8 Prep
)
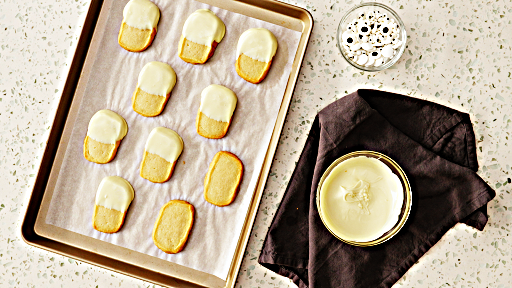
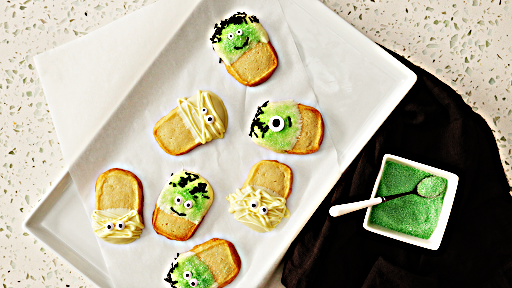
To make monsters: Dip the top of each cookie half to three-quarters of the way into the melted white chocolate, then lay it flat on the baking sheet. Sprinkle the chocolate with green decorating sugar. Press about 1/4 teaspoon of black jimmies into the top of the green sprinkles to create hair, and carefully spoon on a little to create a mouth. Secure two candy eyeballs in the middle of the green sugar.
)
To make mummies: Dip the top of each cookie half to three-quarters of the way into the melted white chocolate, then lay it flat on the baking sheet. Freeze the baking sheet for about 10 minutes to set the chocolate. Place a few tablespoons of melted chocolate in a zip-top bag and gently squeeze it into the corner. Cut a very small tip from the corner of the bag with scissors. Remove the baking sheet from freezer. Pipe melted chocolate in diagonal lines crosswise over “bodies” of mummy cookies, creating “wraps.” Secure two candy eyeballs in the middle of the chocolate coating.
)
Once all the cookies are decorated and arranged on the baking sheets, freeze for 10-15 minutes to set the chocolate.
3.9 Serve
)
Once the chocolate is set, the cookies are ready to be served. Leftover cookies may be stored in an airtight container in the refrigerator up to five days. Bring to room temperature before serving.
)