
This bread is perfect for everything from simple butter and jam, to sandwiches, to dipping in a hot bowl of soup.
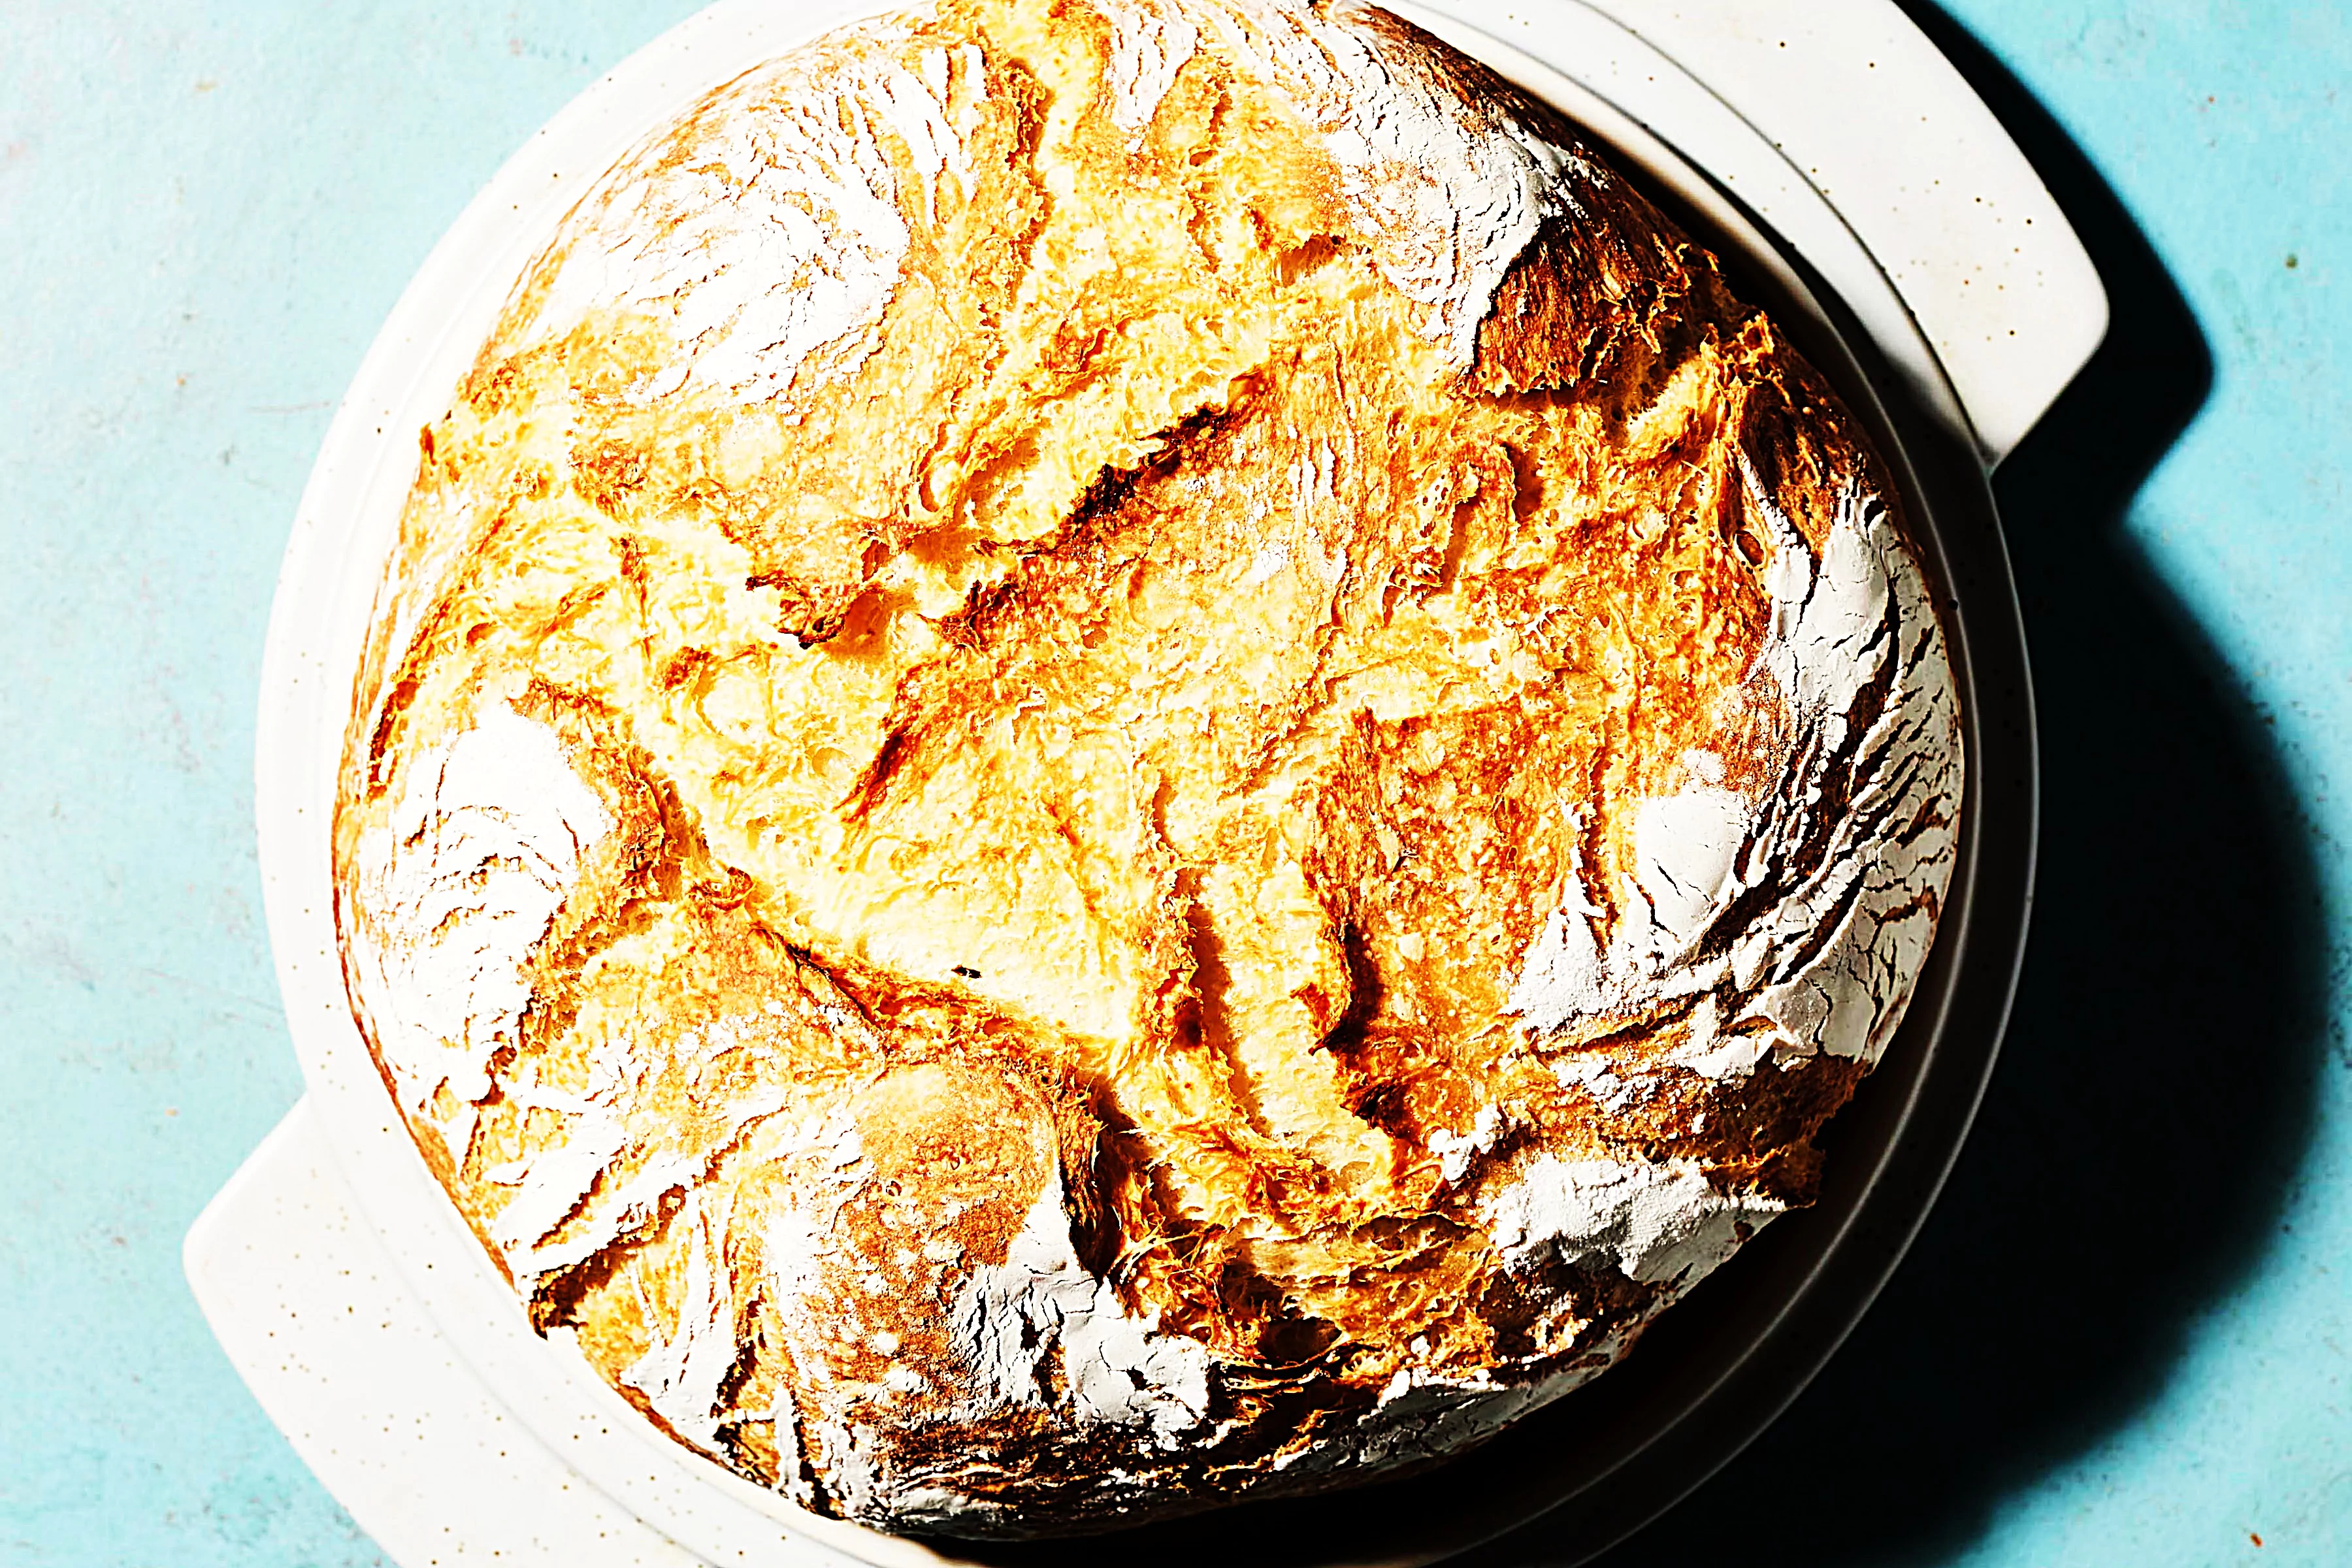
Satisfy your sweet tooth with this easy-to-make recipe for The Everyday Artisan Boule.
1. Info for The Everyday Artisan Boule
- Cook Time: 2 hr 15 min
- Total Time: 2 hr 15 min
- Servings: 8
- Calories: 143.37 kcal
2. Ingredients for The Everyday Artisan Boule
- 2 1/2 cups all-purpose flour (375 g)
- 2 1/4 teaspoons instant yeast (6 g)
- 1 teaspoon kosher salt (8 g)
- 1 1/4 cups warm water (approximately 109-112°F)
3. Directions:
- SPECIAL EQUIPMENT: KitchenAid® Bread Bowl; KitchenAid® Artisan Stand Mixer with dough hook; parchment paper; kitchen scale; food thermometer
- Prepare all your ingredients at your workstation. Warm the KitchenAid® Bread Bowl by filling it with hot water – then, pour out the water and pat dry.
- Add the flour, yeast, and salt into the Bread Bowl and affix it to your KitchenAid® Artisan Stand Mixer; insert the dough hook and lock the head in place.
- Turn the mixer to speed 2 to combine dry ingredients. After about 30 seconds, slowly stream in warm water. Allow the mixer to knead the ingredients for 1 1/2 – 2 1/2 minutes – or, until the dough pulls away from the bowl but is still wet and shaggy. Do not over knead. (It’s okay if some bits of flour remain around the edge.)
- Remove dough from the hook and remove the Bread Bowl. Dust the top of the dough with a bit of flour. Use a hand to turn and coat the dough in flour, then cover the bowl with the lid. (NOTE: The dough will be sticky. No need to form or additionally knead the dough at this point.) Let the dough rise for 60 minutes.
- Uncover the bowl and gently pull the dough from the bowl onto a generously floured surface. With dough in a rough round in front of you, pinch the top of the dough, stretch it away from you, then fold it into the center of the dough like you are folding an envelope. Give the dough a slight twist and do the same thing to the portion now at the top. Continue turning, stretching and folding the dough into the center for three to four full circles. (You will notice it gets harder to stretch the dough as you work.) After the final stretch and fold, flip the dough over, fold side down. Gently place both hands on each side of the round and gently curl your right palm around the right edge while using your left hand to rotate the round on the surface. This action will smooth the dough into a round mound.
- Let the dough sit in place while you quickly wash out the bread bowl and dry it thoroughly. Generously flour the inside of the Bread Bowl and the top of the dough. Return the dough, fold side down, to the Bread Bowl. Cover the bowl with the lid and allow it to rise for 30 more minutes.
- While dough is on second rise, preheat the oven to 450°F/232°C. (NOTE: Set your rack as close to the center of the oven as possible while still leaving enough height for the lidded Bread Bowl to fit.) When ready to bake, remove the lid from the Bread Bowl and line the inside of the lid with a round of parchment paper. Carefully invert the round from the Bread Bowl onto the parchment covered surface (so the fold side is now facing up) being careful not to deflate it or disturb the shape. Dust out the excess flour from the Bread Bowl, then cover the dough with the Bread Bowl and place in the oven. Bake for 30 minutes. Then, remove the Bread Bowl to expose the bread and finish baking for 10 more minutes, or until the crust is a deep, golden brown. Remove to a cooling rack and let cool before slicing.
- Chef’s Notes: It’s always best to weigh the flour when making bread. If you don’t have a kitchen scale, do not pack the flour when measuring. Simply ‘fluff’ the flour before filling your measuring cup, then use the back of a kitchen knife to push off any excess above the rim. Water temperature is a key component of bread making. If you don’t have a thermometer to test water temperature, using hot water from your kitchen sink (versus warming in a microwave) is the best option. The trick is to fill your measuring cup with hot water, pour it out, and then measure the amount needed for the bread. This will ensure the glass doesn’t suck the warmth from the water before you add it to the dough. There is no need to score the top of this bread when baking. When the dough is inverted onto the lid after the second rise, there are natural cracks (from the stretch and fold process) that will expand and give this bread the perfect artisan loaf look.
)